Cart
Cart
|
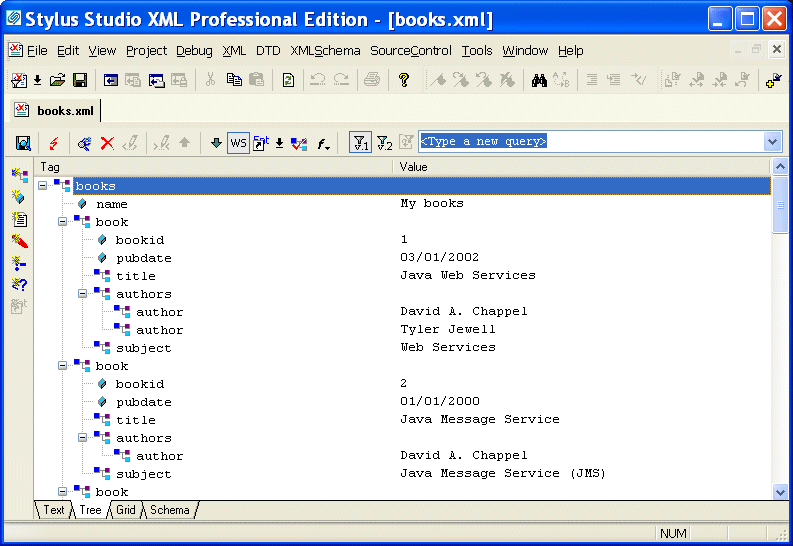
Home > Online Product Documentation > Table of Contents > Updating DOM Tree Structures Updating DOM Tree StructuresTo update the DOM tree for an XML document, click the Tree tab at the bottom of the window that contains the document.
While you are editing, if the display does not appear to correctly represent the current tree, click
Refresh
To save your file, select File > Save from the Stylus Studio menu bar or click Save in the Stylus Studio tool bar. This section discusses the following topics: Displaying All Nodes in the Tree View
To expand a tree so that you can see all the nodes in the tree, click the root node and then press the asterisk (
The default tree view of your document does not include nodes that contain only blank spaces, line feeds, or tabs. To toggle between the default view and a view that does display all nodes, click
White Space
Adding a Node in the Tree ViewAlong the left side of the window that contains your DOM tree, there are buttons that represent the types of nodes you can add to your document. The procedure for adding a node is similar for all types of nodes. To add an element:
1. Click the element that you want to be the parent of the new element, or click an element that you want to be a sibling of the new element.
2. To add a child element, click
New Element
Alternative: To add a child element, press Ctrl+E. To add a sibling element, press Ctrl+Shift+E. If your XML document specifies a DTD, Stylus Studio displays a list of the elements that you can add at that location. If your document is associated with an XML Schema or does not specify a DTD, Stylus Studio prompts you to specify the name of the new element.
3. Double-click the element you want to add, or type the name of the new element and press Enter. If you added a child node, Stylus Studio adds it as the last child.
4. If the new element contains data, type a value for the new element and press Enter.
Deleting a Node in the Tree ViewAlong the left side of the window that contains your DOM tree, there are buttons that represent the types of nodes you can add to your document. The procedure for deleting a node is similar for all types of nodes. To delete a node:
1. Click the node you want to delete.
2. Click
Delete Node
Moving a Node in the Tree ViewAlong the left side of the window that contains your DOM tree, there are buttons that represent the types of nodes you can add to your document. The procedure for moving a node is similar for all types of nodes. To move a node:
1. Click the node you want to move.
2. Click the up and down arrows at the top of the document window to move the node up or down the tree.
Alternative: Drag the node to its new location. Changing the Name or Value of a Node in the Tree ViewAlong the left side of the window that contains your DOM tree, there are buttons that represent the types of nodes you can add to your document. The procedure for renaming a node is similar for all types of nodes. To rename a node:
1. Click the node you want to rename.
2. Click
Change Name
3. Double-click the new name, or type the new name and press Enter.
To change the value of a node:To change the value of a node:
1. Click the node whose value you want to change.
2. Click
Change Value
3. Type the new value and press Enter.
Obtaining the XPath for a NodeTo obtain the XPath expression that returns a particular node:
1. In the XML editor, click the
Tree tab.
2. Right-click the node for which you want the XPath expression.
3. In the shortcut menu that appears, click
Copy XPath Query to Clipboard.
4. Press Ctrl+V to paste the XPath expression where you want it.
|
XML PRODUCTIVITY THROUGH INNOVATION ™